Are You Inviting Trouble with Your Wi-Fi Setup?
Imagine this: you’re busy preparing dinner, searching for extra glasses, and suddenly your cousin’s child yells, “What’s the Wi-Fi password?” At that moment, juggling so many tasks, you probably don’t want to spell out a long password. Fortunately, there’s a simple solution.
Instead of repeatedly sharing your Wi-Fi password, consider posting it in a convenient spot, like on the fridge. But before you do, let’s discuss how to create a separate guest network. This way, you can enjoy peace of mind knowing that your personal devices and sensitive information remain secure from prying eyes.
Why a Guest Network is Essential
When guests connect to your main Wi-Fi network, there’s a risk they could access your smart devices, printers, and even your personal computers if file sharing is enabled. This is particularly concerning if their device is compromised, as it could put your entire network at risk. A guest network not only keeps your guests happy but also safeguards your privacy.
Setting up a guest network is easier than you might think. Most modern routers allow you to do this without needing advanced technical skills. Although it may take a few minutes, the process is straightforward and well worth the effort.
Step-by-Step Guide to Setting Up a Guest Network
Step 1: Access Your Router’s Admin Console
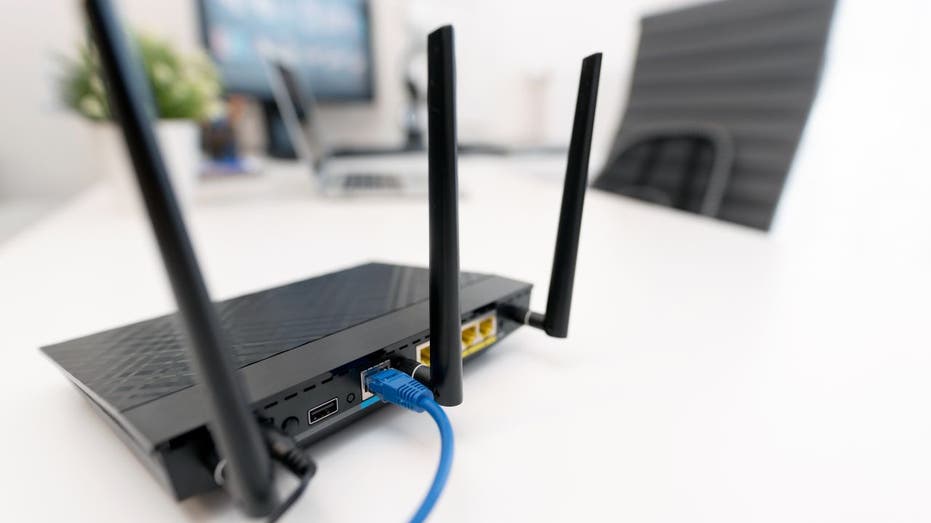
To get started, log into your router’s admin console. You will need your router’s IP address, which can typically be found on a sticker located at the bottom or side of your router. Common addresses include 192.168.1.1 or 192.168.0.1.
Step 2: Open Your Browser and Log In
Open your internet browser and type in “http://” followed by your IP address. Press “Enter” to access the login page. For the username, try “admin” and for the password, use “password.” If these defaults don’t work, you can usually find the correct credentials printed on your router. Additionally, there are resources available that list default passwords for various router models.
Step 3: Locate the Guest Network Settings
Once you’re logged in, search for a setting labeled “Guest Network” or “Guest Wi-Fi.” Choose a unique name (SSID) for this network that is different from your main one, and create a strong, unique password.
Protecting Your Privacy
If you have guests who may be a bit too curious, you can further enhance your privacy. By connecting to the guest network, they won’t be able to access your files or devices on your primary network, especially if you disable the “local access” setting.
Stay Alert for Unwanted Intrusions
It’s important to be aware of potential snoopers. If you suspect someone is trying to access your network, keep an eye out for any unusual activity on your devices.
Additional Security Measures
Before you wrap things up, take a moment to perform a quick security check on your network. Your home network is a more significant target than you may realize, so it’s essential to stay vigilant.
Streamline Guest Access with QR Codes
Now for an exciting twist: you can create a QR code that allows guests to connect to your new guest network effortlessly. Using a free online tool like QIFI.org, you just need to provide three pieces of information: the network name (SSID), the password, and the encryption type. After hitting “Generate,” your QR code will be ready to go.
Print several copies of this QR code to display throughout your home or consider ordering a stylish sign. This way, when someone asks for the Wi-Fi password, you can simply point them to the code—no hassle involved!
Become Tech-Savvy at Your Own Pace
Navigating the world of technology doesn’t have to be overwhelming. With the right resources, you can become more comfortable with tech and maintain your network’s security.
Stay informed and enjoy a seamless online experience!


